I recently received questions from Mike about building a container house. His questions and my answers follow:
1. What was your
estimated price per sq. foot total? I
estimate I spent $100-$120 per square foot.
The reason I do not know exactly is that I have never gone back and
added it all back up. I had a contractor
who did the work. If you contracted it
yourself, you could possibly save some there.
My contractor was worth every penny though, because he knew things I did
not. Nevertheless, had I had the time, I
believe I could have done some of it more cost effectively.
2. How much did
you pay for each 40' container? Almost three years ago, I paid
$2,500 per (45') container delivered to the site, but not including the crane
to set them on the foundation. I used
three containers, side by side. Container prices vary with supply and demand and who you buy them from.
3. Roof Trusses,
any problems? Roof trusses were no
issue. The building supply place orders
them to your specs, delivers to site, and never touches them. You can see the original plan on the
blog. I had some extra corrugated
Quonset hut material I planned to use, but the engineering was going to cost so
much to get it to code, it was not worth using.
The combined cost of the trusses and the metal roof were less than the
engineering necessary to make the salvage material work (see #4). Also, I think I got a better roof with the truss and metal design. The beauty of using the trusses is that I not
only have insulation inside, but have blown in insulation in the attic space
created by the trusses. Better planning
could have saved me some money. For
example, it cost appx $1k or more to get a crane to the site each time. I brought one in to unload the containers off
the truck and on to the foundation. Had
it been a slab foundation, I could have had the containers delivered on a roll
off unit and avoided the crane. I'm not
sure how I could have done it, but if the trusses were there at the time the
containers arrive, you could use the same crane to set both. Again, it is a planning process, which I did
not do nearly as well as I could have.
4. Any budget
costs you would mind sharing? My goal
starting out was to build a house for $50 per square foot. It was the first time I had built a container
house, and the first time the county building inspector had encountered one in
our county. An inspector may be, but is
probably not an engineer. There are
regional building codes that many counties subscribe to. If the inspector can find your design in the
standard book, there is virtually no question of acceptance. If he cannot find your concept in the book,
he will require a professional engineer (PE) to submit the design and sign off
on it. That has liability implications
for the engineer, so he will over design it, and he will charge you
professional fees (like a lawyer or doctor) to certify your design. The foundations was tremendously
overdesigned. I believe I could stack
three containers high on the foundation I have, and be totally stable and
safe. Since the engineer did not have
any experience with containers, he had no clue what cutting some of the walls
out might do to the structural integrity of the container. Therefore, he put a block foundation under
every inch of every side of each container.
The foundation cost $6k. I think
a slab or piers would have been fine.
Either would have been cheaper, but the piers would get the containers
up so HVAC, wiring and plumbing could be underneath (as my foundation did for
my building). All that would have to be
put in or under a slab design. The
engineering for using the Quonset pieces was going to cost $6k and the material
for tin and trusses was $5k.
Another thing I really was enthusiastic about was
re-using as much building material as I
could. Habitat's Re-Store supplied my
kitchen cabinets, toilets, bathroom sink, kitchen sink, all exterior doors,
some interior doors, dishwasher, washing machines, etc. (new windows and tubs). When you are using salvage material and using
a contractor, you have to balance the figuring/thinking time of the contractor
to adapt the used article, against the ease and familiarity of the contractor
with installing new stuff with complete directions included.
5. How many sq. ft heated/cooled? There are 1,080 sq. ft. heated and
cooled. The porch is additional (16'
wide and appx. 30' long).
Added comments: You did not ask, but I used an architect who was very
interested in my project. He was very
flexible. I could tell him my idea and
he could translate it to working drawings quickly. I could sit for an hour and try to figure out
how to lay out the bathroom. He could
scratch it out in ten minutes and it would be exactly what I wanted. If I were building again, I suspect I would put
two containers side by side and stack two on top. My house is 1,080 with three (45' not 40')
containers. Four 45' containers would
give you 1,440 square feet and four 40'
containers would give you 1,280 square feet.
You would have to calculate the extra cost of the longer containers for
the space gained. I believe that if you
have to have your foundation engineered, the smaller foundation footprint would
pay. Additionally, you do not need the
porch foundation to be as substantial as the rest of the house. Mine are all the same. As much as I have complained about the cost,
though, I think I could take a direct hurricane hit, and possibly a direct
tornado hit and not lose the house (only the roof). Since I did not let the contractor penetrate
the top of the container, and sealed each container to the other, I could lose
the roof and still not leak. Also, no
matter what, get the high-cube containers whether they are 40' or 45'. The extra height allows you to frame it out
and still have a roomy feel that height gives you.



 If you noticed that there was no plan for roof trusses in the original drawings, you have just seen evidence of the unstable process of building an unconventional building. I had originally planned to use salvaged material intended for the walls of a metal quanset hut to form the porch roof. It would have been so expensive to get it engineered to comply with code, that we made the decision to go with a conventional roofing system using new material. The roof covering will be Galvalume 5V metal (tin), attched with screws.
 The prefabricated roof trusses took very little time to install. Mac Pfifer is the framing contractor and with his crew and the help of a boom truck, placed all trusses in one morning. It took them the rest of the day and the following morning to tie it all down and tie it all together. This view shows the vaulted ceiling shape of the screened porch. The space from which the picture is taken will be the carport.
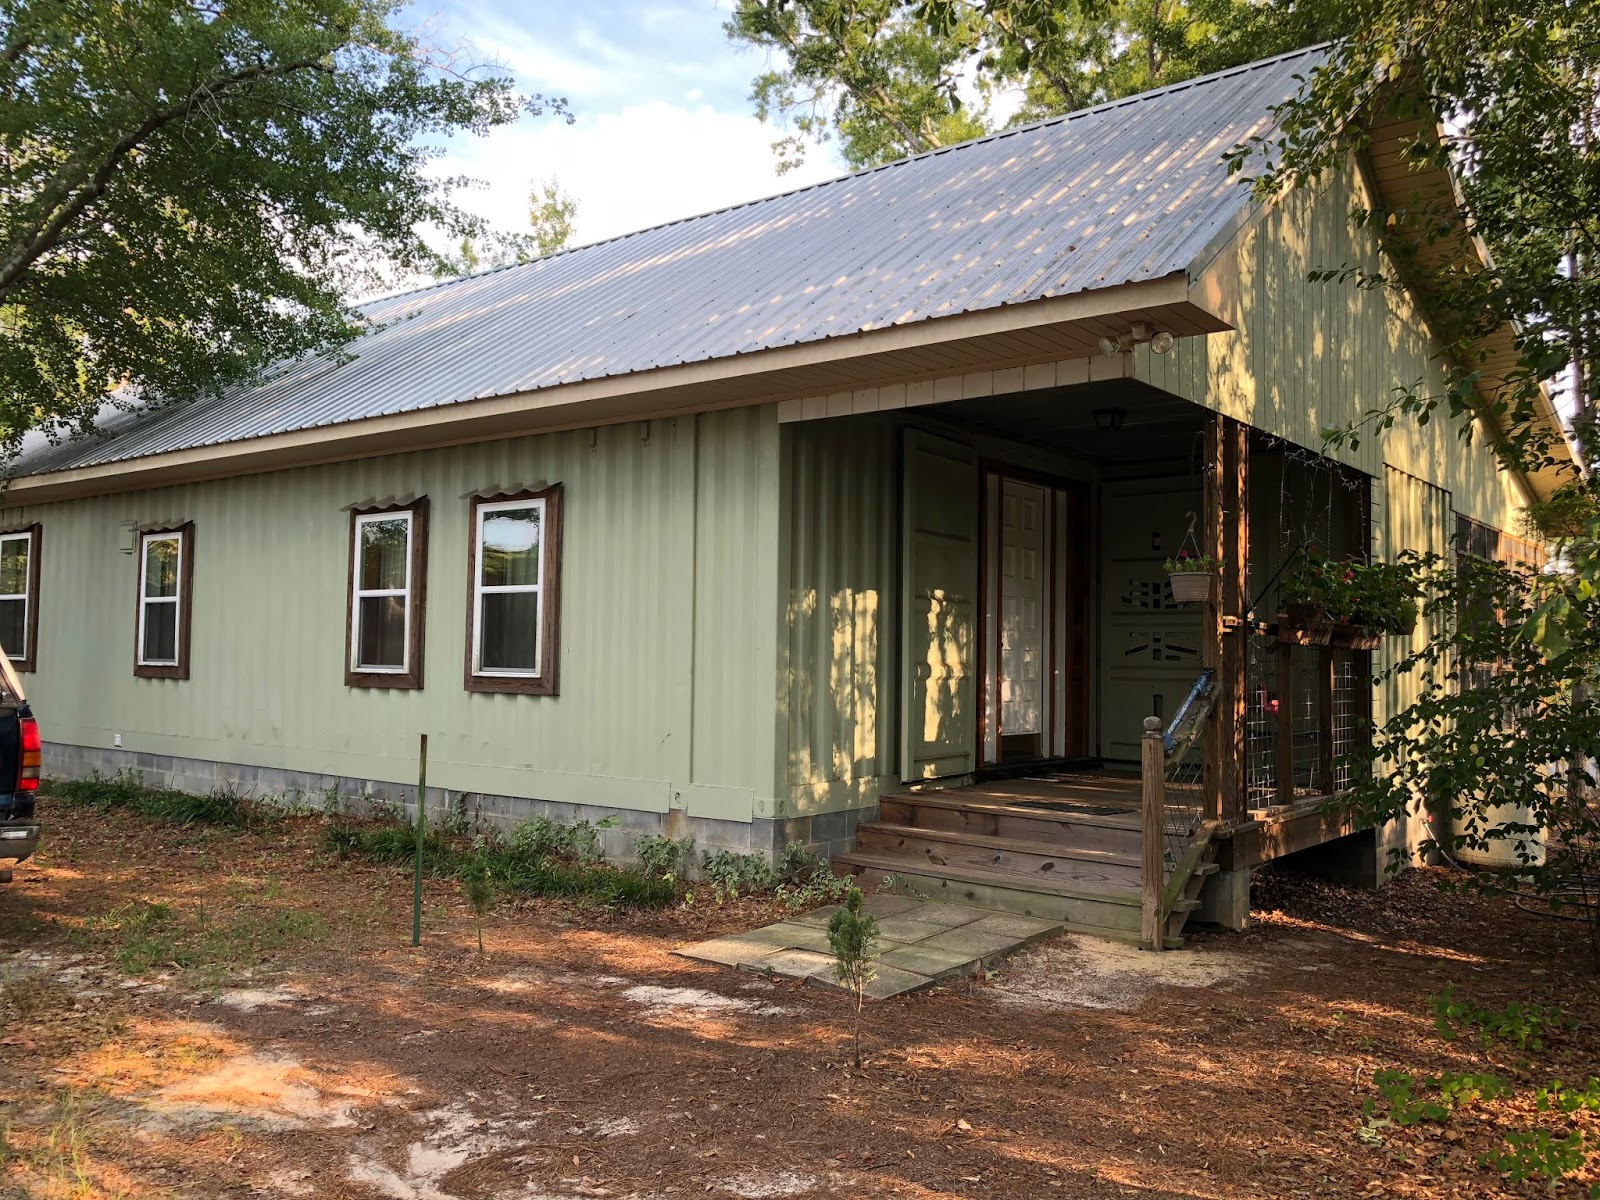
 The roof extends over the entry porch. We plan to leave the container doors in place (second container to the right), to be closed for security when the house is locked. When not in use, the container doors will be opened against the adjacent containers. Storm/security shutters may be installed over the windows using the cutouts from the window holes. This may happen later depending on money and schedule.
  The screened porch is approximately 16' x 24'. It must accomodate a Pawley's Island Hammock and a picnic table. It is supported by concrete piers on the outside and brackets welded to the container on the inside. This view shows the the sliding glass door (salvage) to the den and the kitchen window which is over the sink.
  Interior framing has been installed. We made the decision to frame out inside because sprayed urethene insulation was expensive, plus Johnny felt that the plumbing and electrical would be less expensive to install within the interior framing. The rooms are all clearly defined now and one can get the feel of the layout.
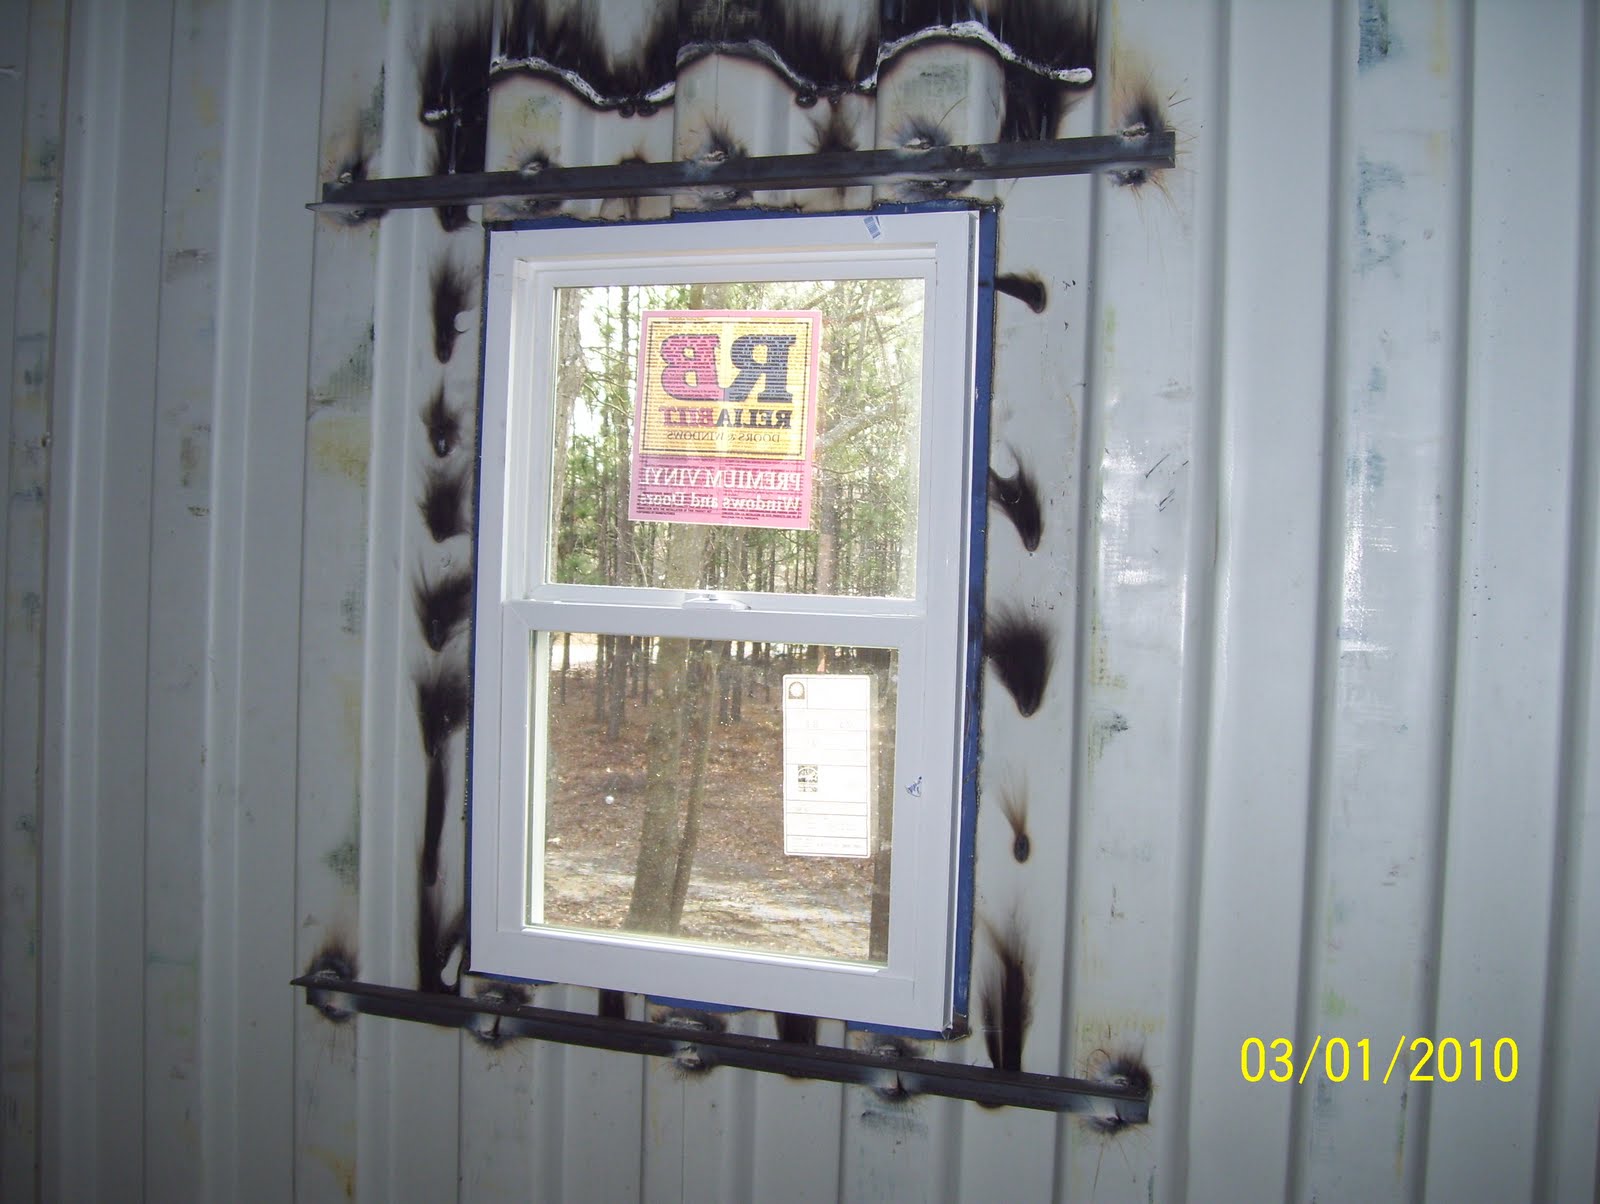
  The living room windows are shown from the inside. The windows must still be sealed with foam from the inside and outside to connect the framing on the inside and to close the corrugations on the outside. The windows must also be loosened and caulked between the window and the container. One window will have to be replaced as it had been broken by vandals.
 In order to make the unit as tight as possible, I chose not to penetrate the top of the containers. Upright bolts are welded to receive two wood 2x4 anchor plates for the trusses. You can see the corner block with holes used for lifting and locking the ocean going container. The anchor plates will have to fitted around the corner block.
 The first of the 2x4 anchor plate is bolted down. A second anchor plate will be attached to the first. This run is along the front of the house.
  Both anchor plates have been attached to the entire perimeter of the house. Beams have been installed. The beams were necessary to cover the porches, where there was no container to support the trusses. Temporary posts are supporting the beams. Hollow posts will replace the temporary posts, through which hurricane straps embedded in the foundation will tie the beams and roof trusses to the foundation. Brackets had to be fabricated from 1/4" steel plate, and welded to the containers to receive the beams. The brackets are approximately 3" wide x 11" high x 8" deep. The same brackets were welded to the container to receive the support beams for the floors of the porches. I feel sure there are standard manufactured brackets that can be purchased to avoid having to have them fabricated.